HOW PRINT PRACTICE WORKS
PrintHarmony organizes beginner practice around small layouts, visible file checks, and the connection between screen settings, exported PDFs, paper choices, and the final printed result.
A FOUR-PART APPROACH
SET THE FORMAT
Begin with exact document dimensions, orientation, margins, bleed, trim lines, and safe areas before adding design elements.
BUILD THE LAYOUT
Practice with familiar formats such as business cards, flyers, and brochures while checking spacing, type size, images, and panel order.
PREFLIGHT THE FILE
Review image resolution, CMYK color, embedded fonts, crop marks, transparencies, and front-and-back orientation before PDF export.
CHECK THE PROOF
Compare the proof with the original layout, inspect edges and alignment, and note how paper stock and finish affect color and texture.
PRINCIPLES BEHIND THE COURSE
VISIBLE CONSEQUENCES
Each setting is connected to a printed effect, from soft low-resolution images to backgrounds that stop before the trim edge.
REPEATABLE CHECKS
A practical preflight checklist helps organize dimensions, fonts, images, color, crop marks, and export settings.
REALISTIC PRINT VARIATION
Screen previews are treated as references, not guarantees, because ink, paper coating, and finishing can change the result.
FILES, PROOFS, AND PAPER




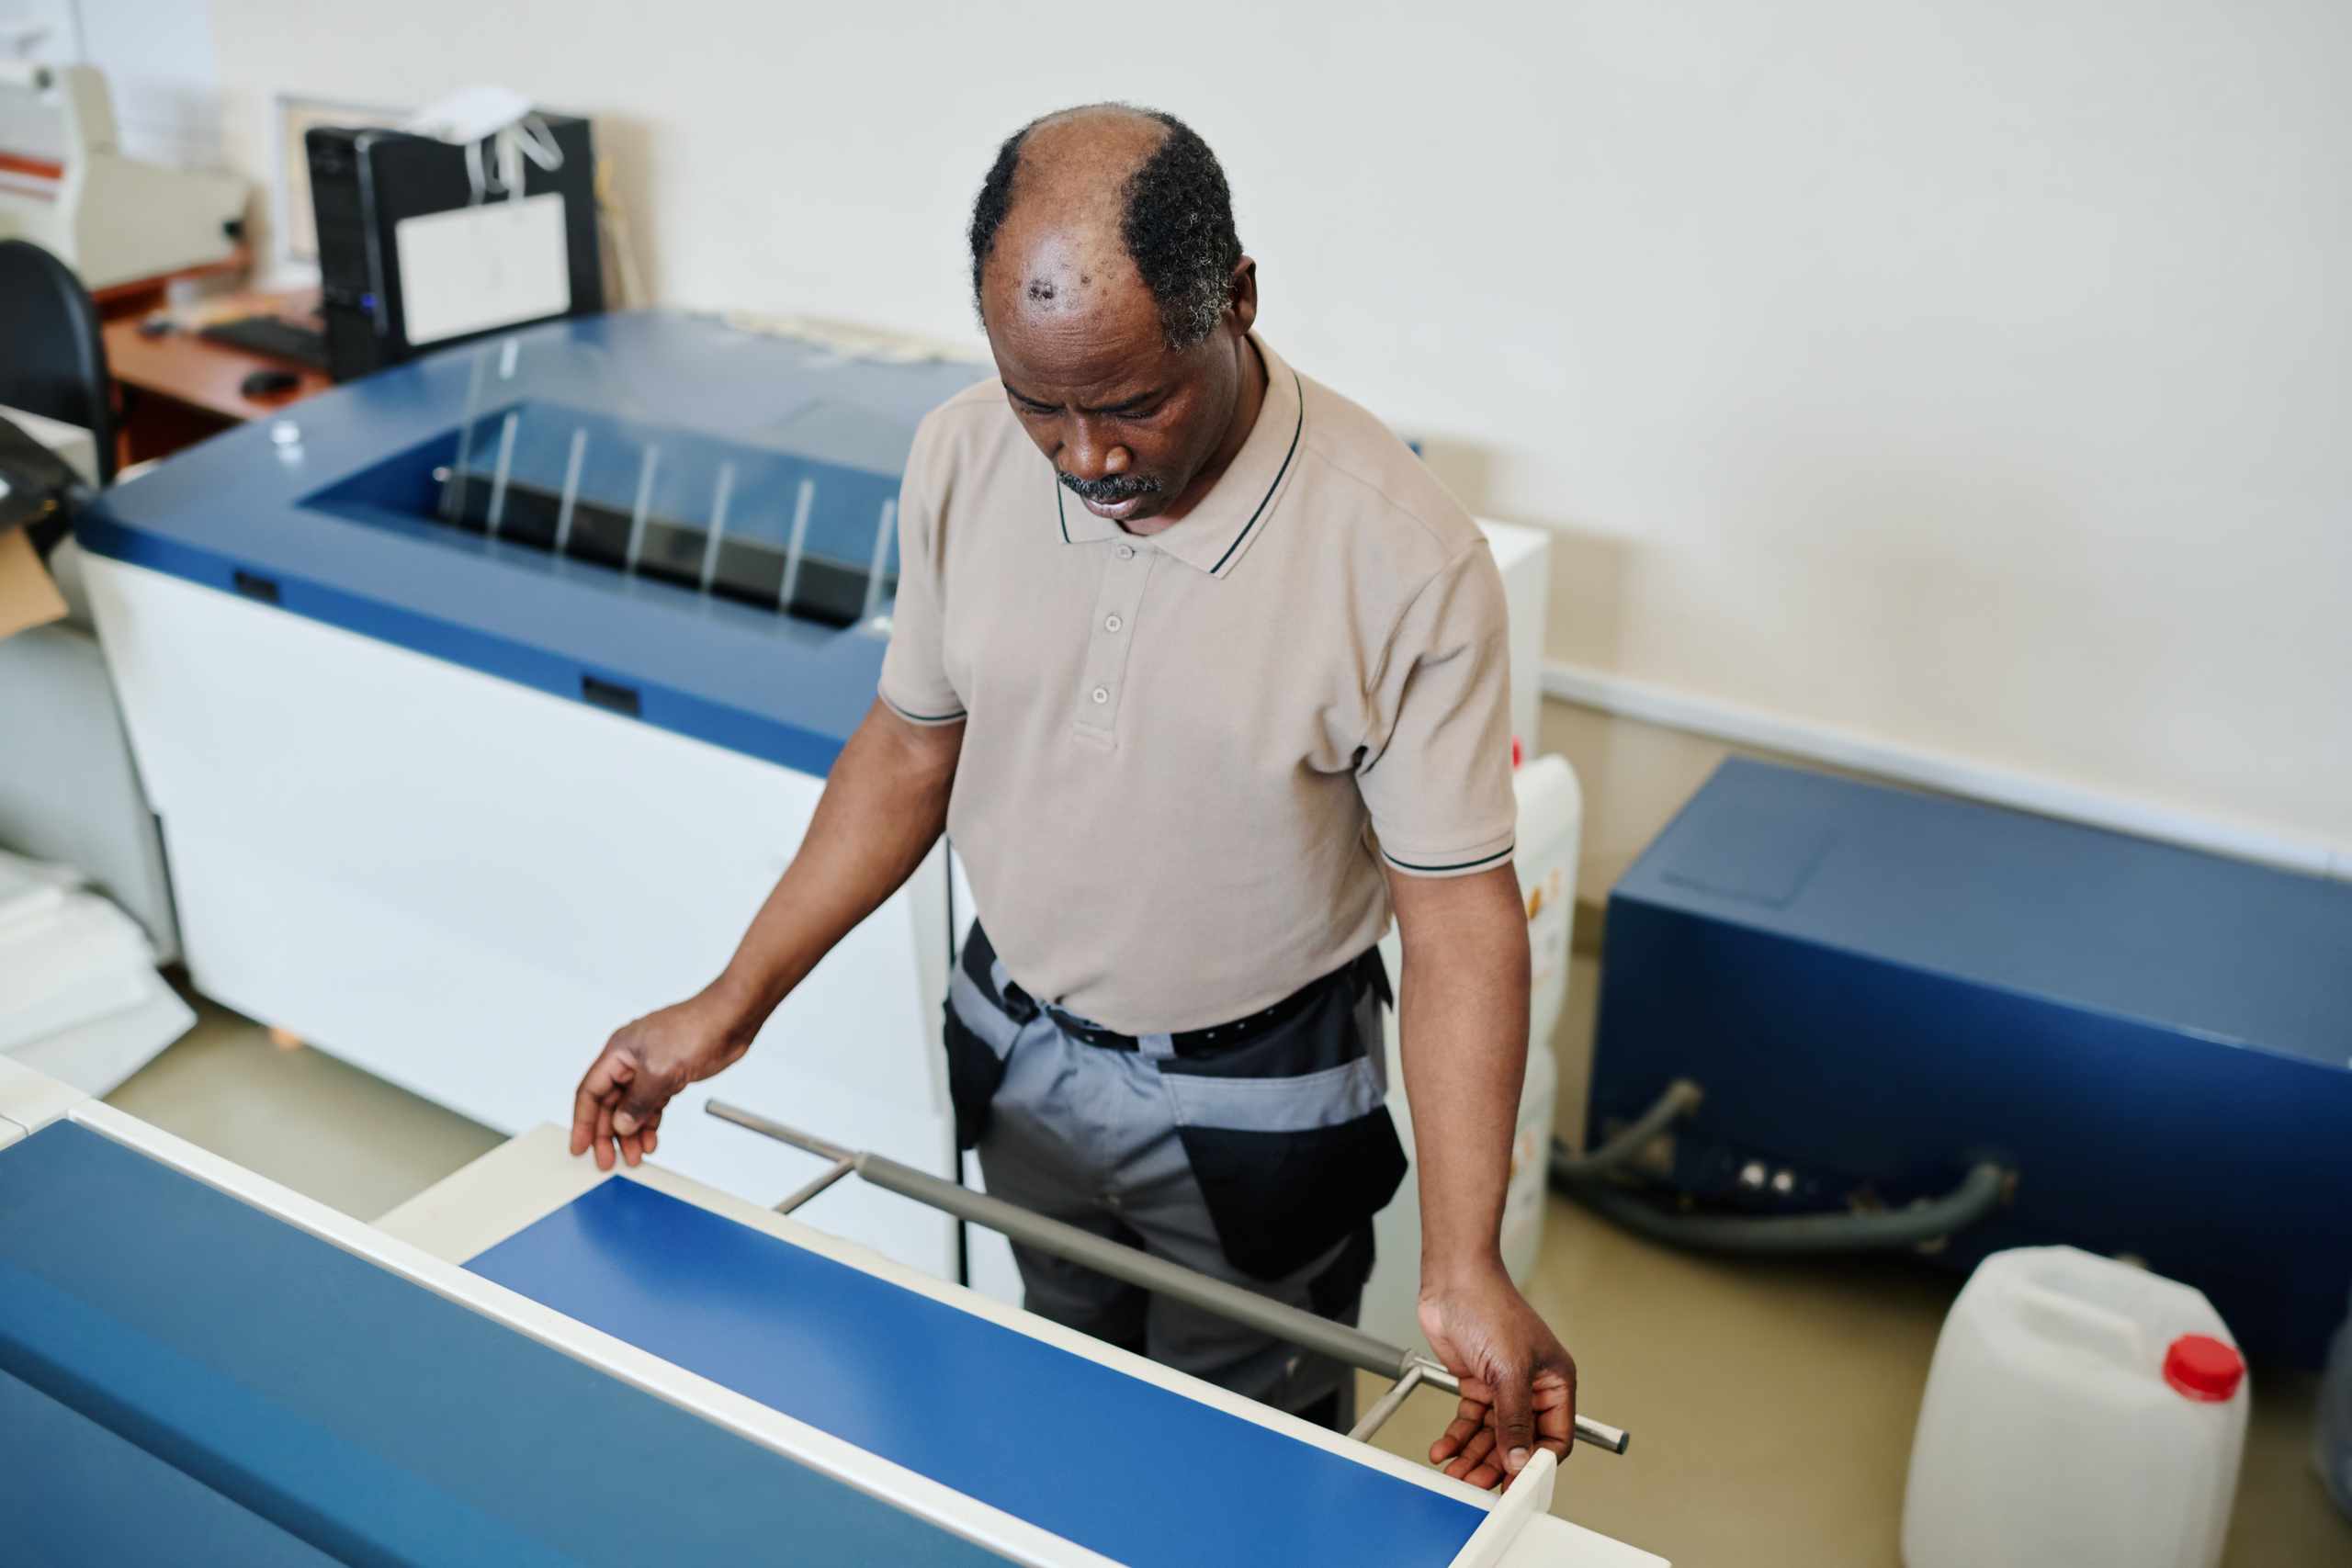

CONTINUE WITH PRACTICAL PRINT GUIDANCE
Use the course notes to examine specific prepress problems, or ask about software, sample files, paper materials, and a suitable starting point.